
In my previous article, Paper Making after the SHTF, I provided instructions on how an industrious survivalist could create paper using foraged materials. This time, I will cover how to make ink, so you can actually write (or print) on that paper.
As with the previous article, we’re only using natural materials that can be foraged in most woodland areas of the USA. But first, here are some tips for working with foraged ink:
- Test your ink on different types of paper to see how it behaves. Depending on the paper being written on, some inks might bleed and will need to be thickened.
- If the ink is too thin, you can concentrate it by simmering it longer or adding thickening agents like gum Arabic, pine resin, or acorn starch.
- Natural inks can have a short shelf life, so store them in airtight containers and try using them quickly after the container is opened.
Berry-Based Ink
Ingredients & Materials
- 1-2 lbs. berries (e.g., blackberries, elderberries, blueberries)
- 1-2 cups water
- 1 teaspoon vinegar (or a pinch of salt)
Directions
- Wash berries to remove dirt.
- Crush the berries to release their juice. You can use a blender or food processor.
- Place crushed berries in a pot and add enough water to cover them, and simmer for about 30 minutes. This diffuses the pigments into the water.
- Strain the juice through a fine mesh or cheesecloth to remove seeds and pulp. If using a cheesecloth, it will be stained afterward.
- Simmer the juice in a saucepan over low heat until it’s reduced to about 1 cup. This concentrates the color and makes it thick enough to be used as ink.
- Add a small amount of vinegar (about a teaspoon per cup of juice), or a pinch of salt to help preserve the ink.
- Allow the ink to cool and store it in a small container.
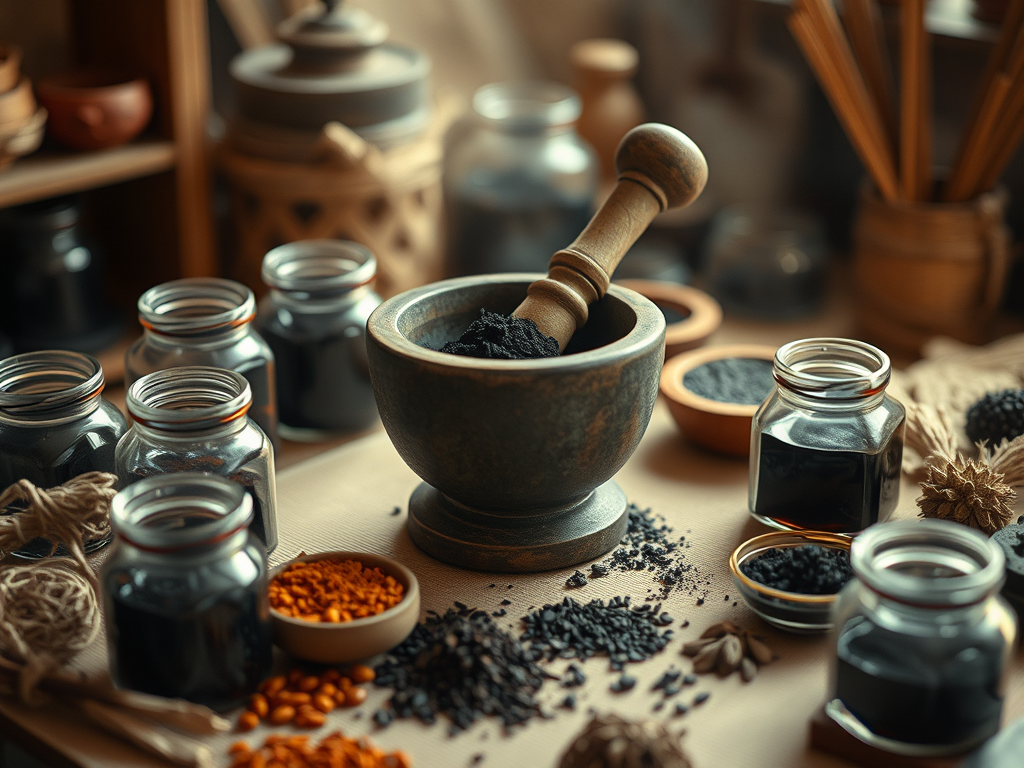
Charcoal Ink
Ingredients & Materials
- ½ to 1 cup charcoal powder (maybe half a pound)
- ½ to 1 cup water
- 2 to 4 tablespoons honey
Directions
- Crush and grind charcoal into a fine powder.
- Add water to the charcoal powder to make a paste.
- Mix in honey to serve as a binding agent to help the ink adhere to the paper and improve durability.
- Strain the mixture to remove any larger particles and store the ink in a container.
- Test the ink on a sample piece of paper to ensure it flows well and dries without complications. If it’s too thick, add a tablespoon of water. If it’s too runny, add more charcoal powder.
Clay-Based Ink
Dig a hole and harvest the reddish-brown clay of the earth.
Ingredients & Materials
- 1 cup red or brown clay (about half a pound)
- 1 cup water
- 1 tablespoon vinegar (optional, for preserving)
Directions
- Gather some clay from the ground.
- Gradually mix the clay with water and add more to achieve the desired consistency. Aim for a thick but fluid mixture that can be applied easily with a pen or brush.
- Mix in vinegar to help preserve the ink.
- Stir the mixture well and store it in a container.
Blood Ink
It’s almost Halloween, so let’s celebrate by including instructions on how to make ink using blood.
Ingredients & Materials
- 1 pint of blood
- 1-2 tablespoons honey
- ½ teaspoon salt
Directions
- Harvest the blood from various animals, such as cows or chickens. You can even use your own blood, although animal blood is a safer option. Regardless of source, ensure the blood is fresh and from a healthy animal (or person).
- The blood should be collected in a clean container. If you’re not using it immediately, refrigerate or freeze it to prevent spoilage.
- If using fresh blood, it may need to be mixed with a preservative or stabilizer. Historically, ingredients like gum Arabic, honey, or other binding agents were used to prevent spoilage and improve consistency.
- Add gum Arabic to thicken the ink and help it adhere to paper. Typically, around 1-2 teaspoons of gum Arabic per cup of blood can be used.
- Sometimes, additional agents like iron sulfate (to darken the color) or salt (for preservation) were added before applying heat.
- Simmer the blood mixture over low heat to reduce the liquid and concentrate the color. Stir regularly to avoid burning.
- Reduce until the ink reaches the desired consistency. Be cautious not to overheat, as this can alter the color and consistency of the ink.
- Let the ink to cool before transferring it to a clean, airtight container.
- Store the ink in a cool, dark place. Blood ink can spoil quickly, so it’s best used within a few months.
Notes
- The color of the ink can vary depending on the animal species due to differences in blood composition. For example, chicken blood (reddish hue) might yield a different hue compared to cow blood (dark reddish-brown) and human blood (medium reddish-brown).
- Different animal blood might require different preservatives or stabilizers due to variations in its natural chemical composition.
- The texture and thickness of the ink can also vary based on the blood’s viscosity and the concentration of the thickening agents used.
- Safety Consideration: When working with blood, ensure you handle it safely to avoid contamination and spoilage. Wear gloves and work in a well-ventilated area.
Ink for Printing?
If your community has a primitive printing press, you can use these inks to mass-produce newsletters or alerts. Here is a breakdown on how well each work.
- Charcoal ink is the best because it’s durable and relatively easy to make. It provides a deep black ink that adheres well to various surfaces.
- Blood ink has a strong color and will bind to almost any surface. Unfortunately, it gives off a strong odor.
- Clay ink is durable, but difficult to prepare properly.
- Berry ink provides a blue-ish color, but the pigments tend to fade quickly when exposed to weather.
